If you’re a web developer or just starting out, having a local development environment is essential for testing and building websites before making them live. XAMPP is one of the most popular solutions for this, as it bundles Apache, MySQL, PHP, and Perl into an easy-to-install package. In this guide, we’ll walk through the steps to install and configure XAMPP on your local machine.
What is XAMPP?
XAMPP is a free and open-source cross-platform web server solution that allows developers to create a local web server environment. It includes:
- Apache (Web Server)
- MySQL (Database Server)
- PHP (Server-side scripting language)
- Perl (Optional programming language support)
Why Use XAMPP?
- Easy to install and configure
- Runs on Windows, macOS, and Linux
- Comes with a user-friendly control panel
- Provides a complete web development stack
Installing XAMPP
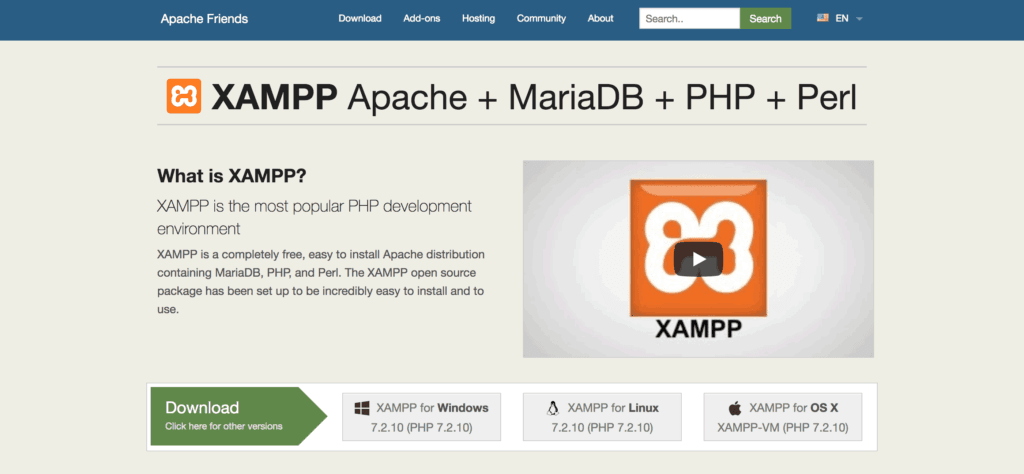
Step 1: Download XAMPP
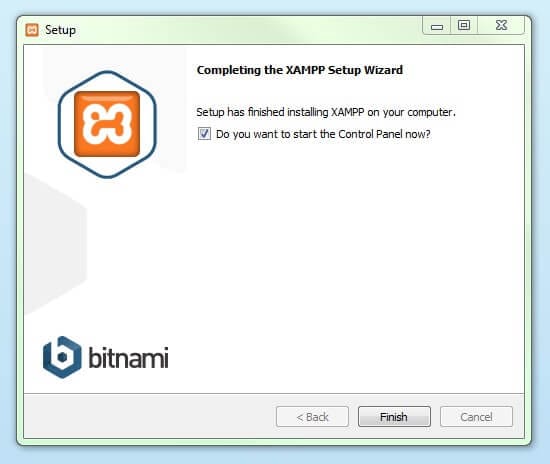
Step 2: Install XAMPP
Step 3: Start XAMPP
Configuring XAMPP
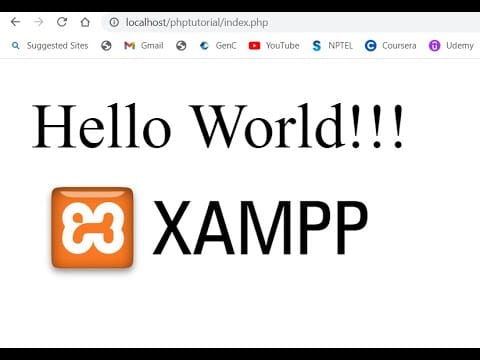
Accessing Your Localhost
Creating a Local Website
					<?php
echo "Hello, XAMPP!";
?>
Managing MySQL with phpMyAdmin
Common Issues & Fixes
Apache Won’t Start
MySQL Fails to Start
Conclusion
XAMPP is a powerful tool that simplifies local web development. By following this guide, you can easily set up your development environment, create and manage local websites, and work with databases. Whether you’re a beginner or an experienced developer, XAMPP makes the development process smooth and efficient.